Page Contents
Install: Quick Install Magento 2
After you install OpenLiteSpeed, follow the instructions below to get your Magento 2 site working.
- Install PHP modules
- MariaDB Installation
- Create MagentoDB Account
- Create a Magento User
- Download and Extract Magento
- Create a Virtual Host for Magento
- Run the Magento install script
- Good Pratice: Changing doc_root to /pub/
Install PHP Modules
The easiest way to install PHP for OpenLiteSpeed (without ols1clk) is through our CentOS/Ubuntu/Debian repository. If the LiteSpeed Repository was not installed and enabled during the web server installation, follow this guide to install and enable the LiteSpeed Repository.
Installing PHP for OLS includes installing RPM or APT packages, setting up LSPHP external apps, and setting up script handlers. Please refer to this wiki for details.
Magento 2.3.1 is certified and tested on PHP 7.2.11, so you can run the following command to install LSPHP72:
CentOS:
yum install lsphp72 lsphp72-mysqlnd lsphp72-common lsphp72-gd lsphp72-pdo lsphp72-process lsphp72-mbstring lsphp72-mcrypt lsphp72-opcache lsphp72-bcmath lsphp72-xml lsphp72-soap lsphp72-json lsphp72-intl -yUbuntu/Debian:
apt-get install lsphp72 lsphp72-mysqlnd lsphp72-common lsphp72-gd lsphp72-pdo lsphp72-process lsphp72-mbstring lsphp72-mcrypt lsphp72-opcache lsphp72-bcmath lsphp72-xml lsphp72-soap lsphp72-json -intl -ythen set up the internal app pointing to the newly installed LSPHP binary. Lastly set up the script handler.
MariaDB/MySQL Installation
On CentOS, run the following to install MariDB:
yum install mariadb-serverOn Ubuntu/Debian, you will need to install MySQL instead of MariaDB.
apt-get install mysql-serverStart MariaDB/MySQL server:
systemctl start mysqlSet a new password:
/usr/bin/mysql_secure_installationEnter
$yourpasswordCreate a Magento Database Account
mysql -u root -p'yourmysqlpassword'create database magento; grant all privileges on magento.* to magento@localhost identified by 'magento-database-password'; exit;Create a Magento User
To better isolate your applications, let’s create a user only for Magento.
Create magento2 user:
useradd magento2Change magento2 password:
passwd magento2Download and Extract Magento
Now we can download Magento 2 from their official page and prepare our file structure for the next steps.
cd /home/magento2/public_html/
### copy Magento-CE-2.2.4_sample_data.zip to here
unzip Magento-*.zip
### Change files permission
chown -R magento2:  /home/magento2/public_html/
Create a Virtual Host
You need to create a new Virtual Host. Go to OLS Admin Console -> Configuration -> Virtual Hosts and click on the ‘ + ‘ (Add) sign.
Configure the values according to your situation. When you finish, click on the Save icon. It will complain about the config file not existing. Just click on ‘CLICK TO CREATE’ and try to save again.
Next, you will be redirected to Virtual Hosts Summary again. Click on the Virtual Host you just created to open its options and continue to do the basic configuration.
At the beginning, you should configure Magento Document Root as: /home/magento2/public_html/
- You MUST enable Rewrites and “Auto Load from .htaccess” also. Magento 2 relies on .htaccess to work properly. Assuming your PHP, Script Handler, log and other options are already set, you can now save everything and reload OpenLiteSpeed by clicking on the Graceful Restart button.
Run the Magento Install Script
Step 1. Run Installation Script
Point your browser with default port to https://yourstore.com/
Accept terms and conditions by clicking ‘Accept and Setup Magento’.
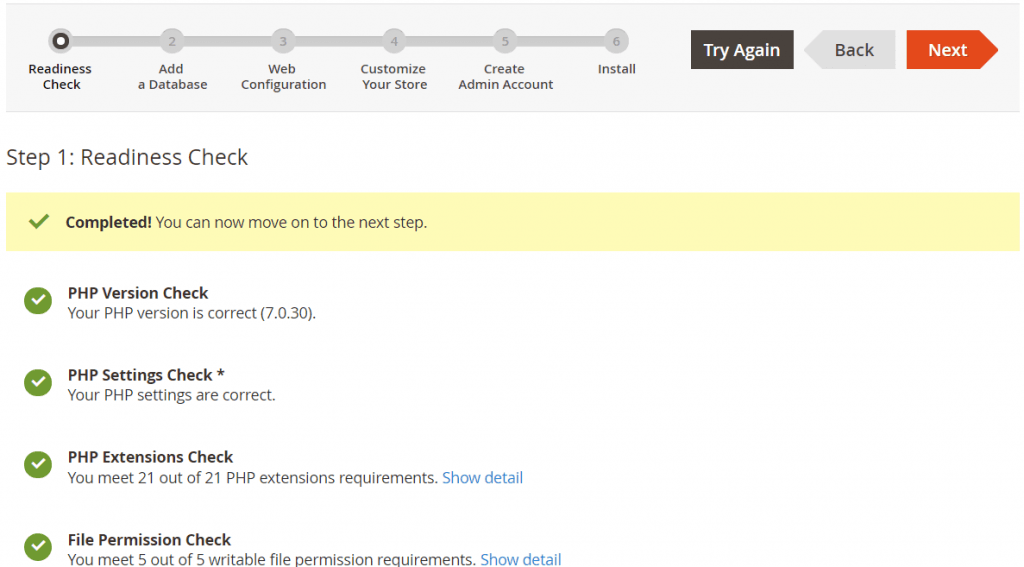
Step 2. Readiness Check
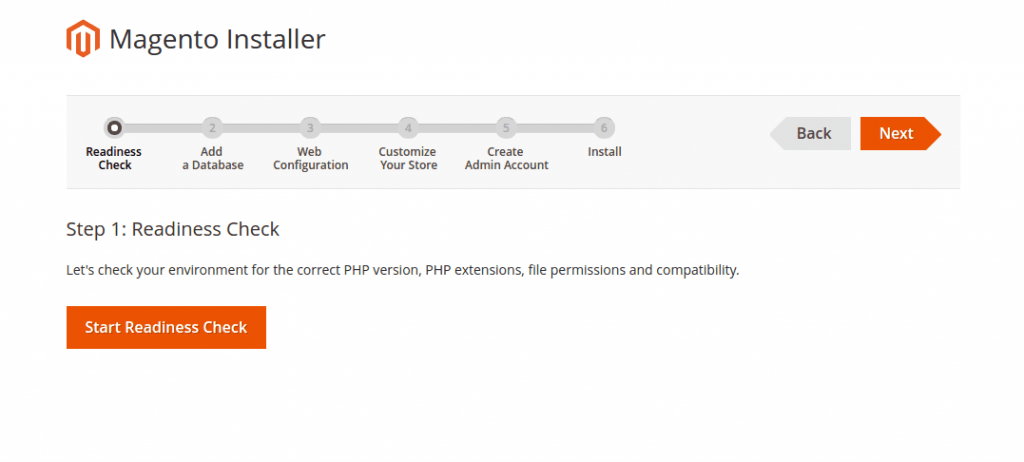
Magento CE installer needs to check if all the requirements are met. If you have followed all the guidelines above, all the requirements should be met, so just click ‘Start Readiness Check’.
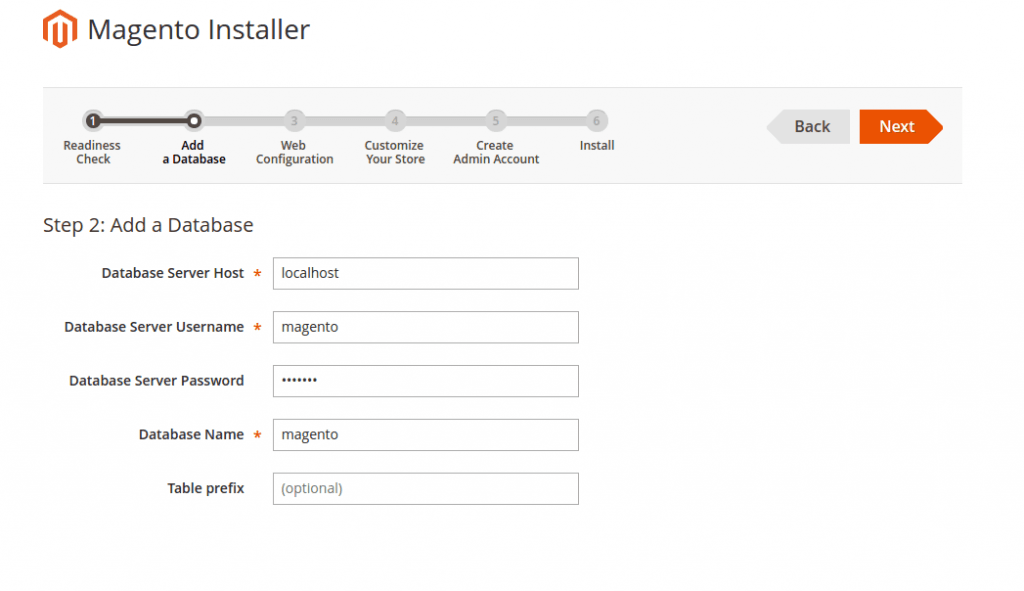
Step 3. Set up Database
We’ve created the database above. Just enter the database details and click Save and continue. If the Magento installer is successfully able to connect to the database, it will start the installation process.
Enter the database details we created above.
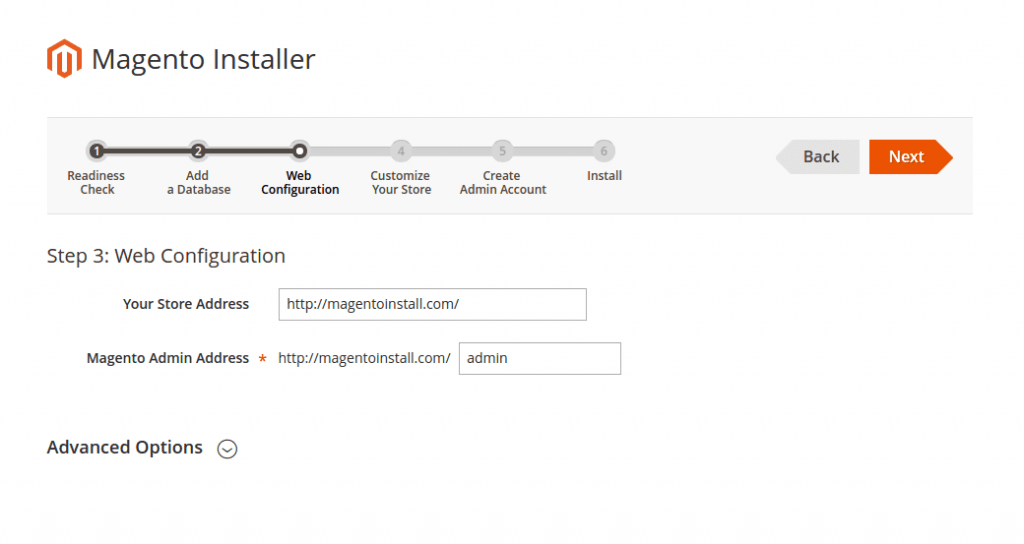
Step 4. Web Configuration
Set up your Store and Admin URL Path, e.g.
- Your Store Address: http://yourdomain.com/
- Magento Admin Address: http://yourdomain.com/admin
Step 5. Create Admin Account
On this step, the installer will let you configure settings for your site. Example settings are:
- Site name:
Litespeedtech - Site email address:
magemto@example.com - Username:
litespeedtech - Password:
litespeedtech
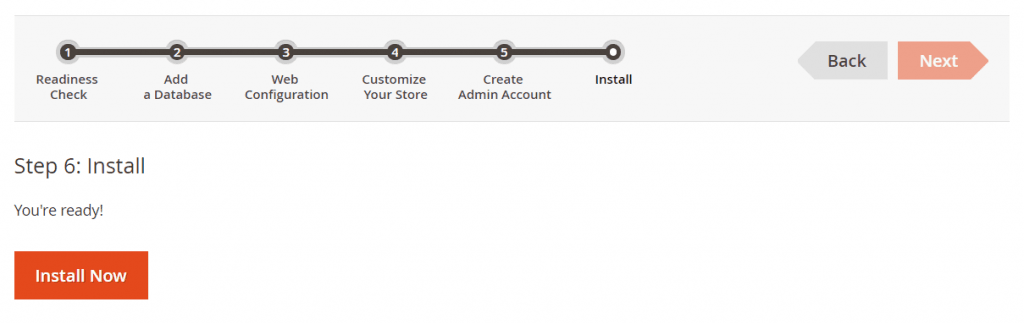
Step 6. Install
Good Practice: Change document root
- IMPORTANT NOTE: Magento 2 should never run on its root file structure on a production server like we just configured. After installing it, you must set its Document Root to /home/magento2/public_html/pub/, or else you can have a lot of problems with redirect loops, security, etc. No matter what file structure you are using, Magento Document Root must always point to “your-file-structure/pub” after installing.
- Setting the webroot to the pub/ directory prevents site visitors from accessing the Web Setup Wizard and other sensitive areas of the Magento file system from a browser.
If you’re accustomed to using the Web Setup Wizard during development, be aware that you will not be able to access it when serving files from the pub/ dir. - Please refer to this Magento 2 office document for doc root recommendation.
Cannot use LiteMage on OLS
Although the LiteMage cache plugin is free, it will require LiteSpeed Enterprise to make it work. Installing LiteMage on OLS won’t work.