Page Contents
Install: Quick Install Drupal 8
After you install OpenLiteSpeed, follow the instructions below to get your Drupal 8 site working.
- Install PHP modules
- MariaDB Installation
- Create DrupalDB Account
- Set Index File and rewrite rules
- Download and Extract Drupal
- Run the Drupal install script
Install PHP Modules
The easiest way to install PHP for OpenLiteSpeed (without ols1clk) is through our CentOS repository. If the LiteSpeed Repository was not installed and enabled during the web server installation, follow this guide to install and enable the LiteSpeed Repository.
Step 1. Install PHP
Use the following command to install PHP with the modules required:
yum install lsphp72 lsphp72-common lsphp72-gd lsphp72-process lsphp72-mbstring lsphp72-mysqlnd lsphp72-xml lsphp72-json lsphp72-opcacheNote: There are multi versions of LSPHP (lsphp53, lsphp54, lsphp55, lsphp56, lsphp70, lsphp71, lsphp72) available.
Step 2. Set up PHP
Visit http://your_server_IP:7080. Navigate to Server Configuration > External app, then click the second icon Edit on the right hand side in order to edit this application.
Modify:
Name: lsphp → lsphp72
Address: uds://tmp/lshttpd/lsphp.sock → uds://tmp/lshttpd/lsphp72.sock
Command: $SERVER_ROOT/fcgi-bin/lsphp5 → $SERVER_ROOT/lsphp72/bin/lsphp
If you are not using RPM/APT, or you prefer to build PHP by yourself, see our instructions for building PHP here.
Step 3. Restart LSWS
When you are finished, click the Save icon to save your changes, then click the Graceful Restart button.
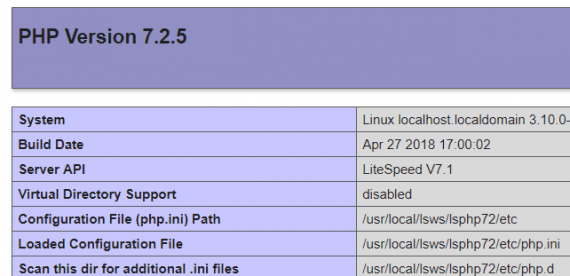
Step 4. PHP Verification (Optional)
Visit http://your_server_IP:8088/phpinfo.php and make sure PHP Version shows 7.2.x.
MariaDB Installation
Install MariDB:
yum install mariadb-server
systemctl start mariadb
Set new password:
/usr/bin/mysql_secure_installationEnter $yourpassword
Create Drupal DB Account
mysql -u root -p$yourmysqlpasswordcreate database drupal;
grant all privileges on drupal.* to drupal@localhost identified by 'drupal';
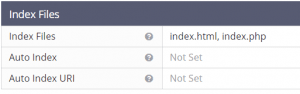
exit;Set Index File
An index file needs to be set in LiteSpeed Web Admin Console. Navigate to Virtual Hosts > Select Virtual Host from List > General > Index Files, click Edit in the top right corner, and enter index.html,index.php in the Index Files box.
Download and Extract Drupal
To illustrate setting up Drupal on a vhost we’ll use the default virtual host, “Example”. You can download Drupal from command or their official download page. Please note that the document root of ‘Example’ virtual host is /usr/local/lsws/Example/html/.
cd /usr/local/lsws/Example/html
wget https://ftp.drupal.org/files/projects/drupal-8.5.3.zip
unzip drupal-*.zip
mv drupal-* drupal
Grant the Web Server User Write Permission to Create wp-config.php During Installation
chown -R nobody:nobody drupalGraceful Restart
When you are finished, click the Save icon to save your changes, then click the Graceful Restart button.
Run the Drupal Install Script
Step 1. Run Installation Script
Point your browser with default port to http://server_ip:8088/drupal
Step 2. Choose Language
This will start the Drupal web installer and it will look something like this:
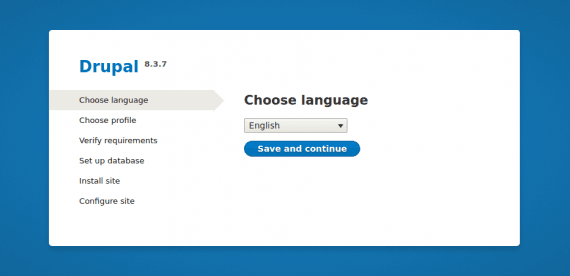
Step 3. Choose Profile
Select your installation profile. You have two options here:
- Standard.
- Minimal.
Standard would be fine for most users. With Minimal, you will have the option to manually choose which functions to install. For now, you should select Standard.
Step 4. Verify Requirements
Once the requirements are met you will be directed to enter database information.
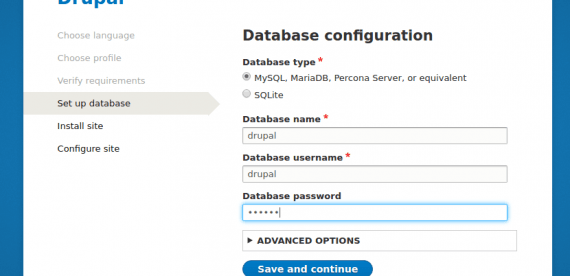
Step 5. Set up Database
We’ve created the database above. Just enter the database details and click Save and continue. If the Drupal installer is successfully able to connect to the database, it will start the installation process.
Step 6. Configure Site
On this step, the installer will let you configure settings for your site. Example settings are:
- Site name:
Litespeedtech - Site email address:
drupal@example.com - Username:
litespeedtech - Password:
litespeedtech
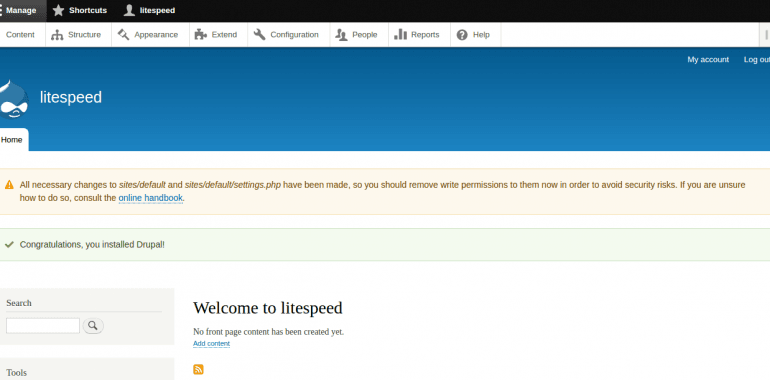
Once you are satisfied, you can finally click Save and continue and your installation is successfully completed. You will now be redirected to the Drupal homepage, which looks something like:
Set Up Drupal Caching (Optional)
Follow the steps described on this page to set up the LSCache for Drupal plugin