When using CloudFlare CDN in front of your OpenLiteSpeed Web Server, you may see a proxy IP instead of the real IP addresses of visitors.
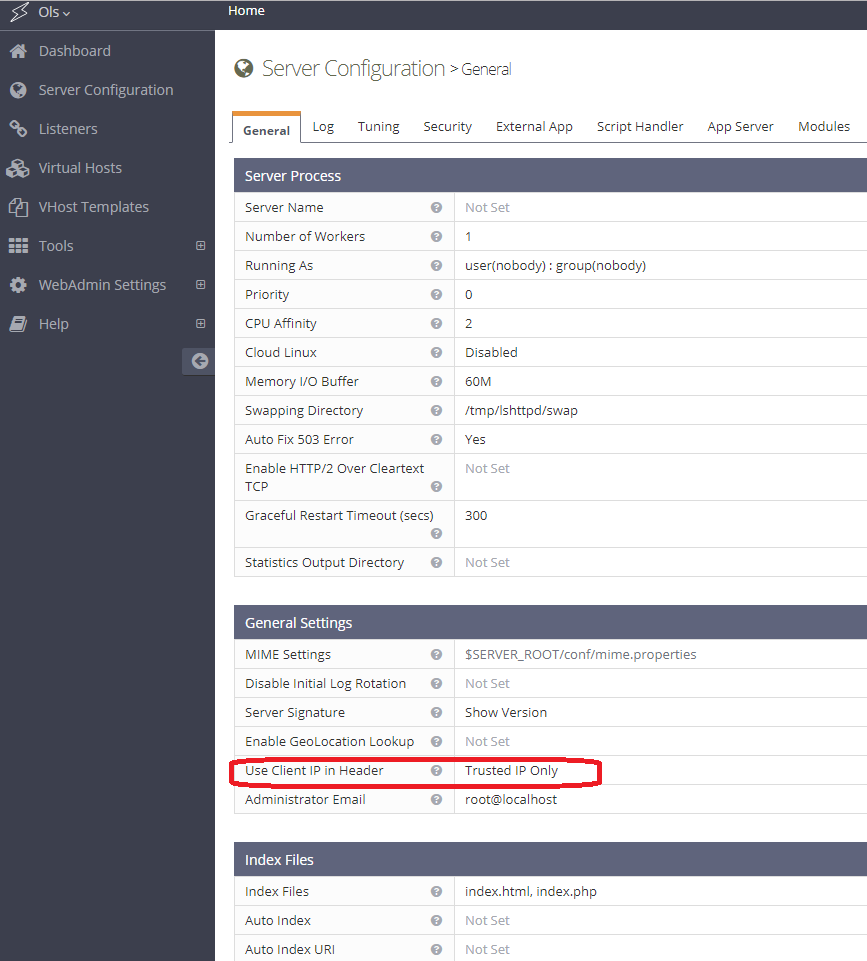
To restore real visitor IPs, navigate to OpenLiteSpeed WebAdmin Console > Server Configuration > General Settings. Set Use Client IP in Header to Trusted IP Only. Add CloudFlare IPs/Subnets to the trusted list, as shown below.
It is not recommended to set Use Client IP in Header to Yes, because it allows clients to spoof IPs with the X-Forwarded-For header that is sent to CloudFlare.
Add the list of CloudFlare IP subnets, available on CloudFlare’s website, to OpenLiteSpeed’s Access Control > Allowed List in a comma-separated list, appending a T (for “Trusted”) to the end of each IP, like so:
ALL, 103.21.244.0/22T, 103.22.200.0/22T, 103.31.4.0/22T, 104.16.0.0/12T, 108.162.192.0/18T, 131.0.72.0/22T, 141.101.64.0/18T, 162.158.0.0/15T, 172.64.0.0/13T, 173.245.48.0/20T, 188.114.96.0/20T, 190.93.240.0/20T, 197.234.240.0/22T, 198.41.128.0/17T, 199.27.128.0/21TThis is how it should look:

If you have another layer of proxy set up in front of OpenLiteSpeed Web Server on the same server box (i.e. CloudFlare Railgun, nginx, or Varnish), you will also need to add that server IP to the trusted list.
Once enabled, your access logs will show the correct IP addresses and even PHP’s $_SERVER['REMOTE_ADDR'] variable will contain your visitors’ real IP addresses instead of a CloudFlare IP address. This will resolve most problems that might occur when enabling CloudFlare on PHP-enabled web sites (like WordPress or vBulletin installations).
Please be aware that only the access log shows real visitor IPs. The error log still shows the IPs of CloudFlare nodes. This may change in a future release.