Page Contents
Requirements
This guide assumes that you already have the following set up prior to following these instructions:
- OpenLiteSpeed 1.4.41+
- MariaDB ( or another SQL server )
For more specific requirements for Ghost please check here.
Installing Node.JS & Ghost CLI
The commands in this section should be run on an elevated command prompt. If it is not elevated, be sure to use a sudo user and add the term sudo before the commands.
Node.JS
Ubuntu 20.04
apt-get install nodejs npmGhost CLI
npm install -g ghost-cli@latestConfiguring OpenLiteSpeed
This section requires you to be able to access the WebAdmin Console. It can usually be accessed by visiting https://<DOMAIN.TLD/IP>:7080.
Creating a Virtual Host
Navigate over to the Virtual Host tab and click the Add button. On this page you will want to adjust the following settings:
- Virtual Host Name:
Ghost - Virtual Host Root:
/home/ghost/app/ - Config File:
$SERVER_ROOT/conf/vhosts/$VH_NAME/vhconf.conf - Follow Symbolic Link:
Yes - Enable Scripts/ExtApps:
Yes - Restrained:
Yes - suEXEC User:
demouser - suEXEC Group:
demouser
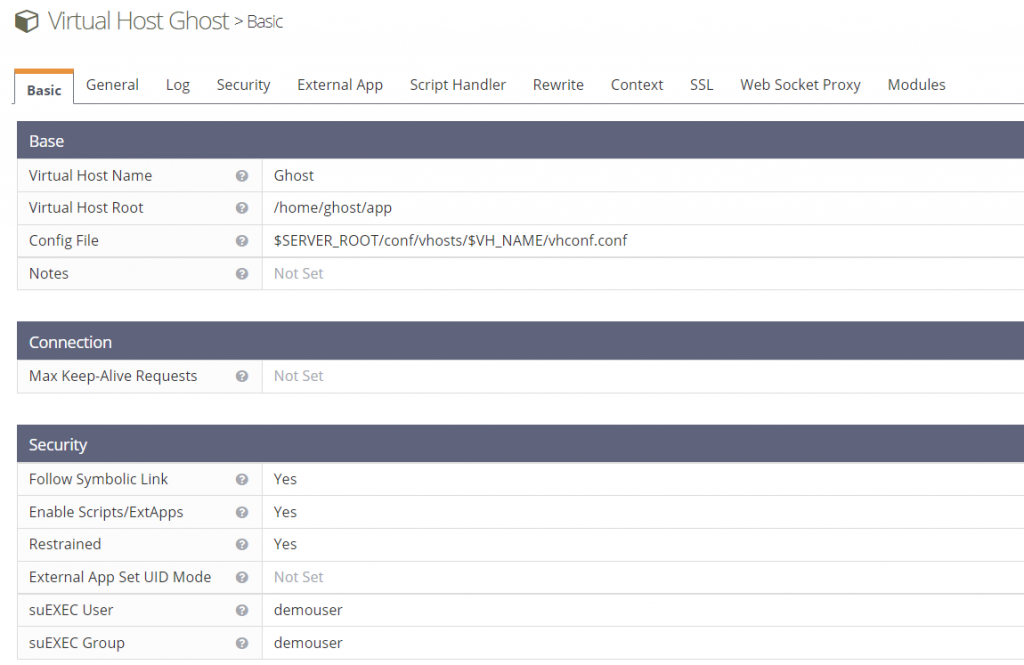
Once that is filled out, press the Save button. If the specified Config File does not already exist, the program will prompt you to create it. Just click CLICK TO CREATE, and press the Save button again.

Set the Document Root
Navigate to the newly created Virtual Host, go to the General tab and click Edit. On this page you will want to set Document Root to /home/ghost/app/.
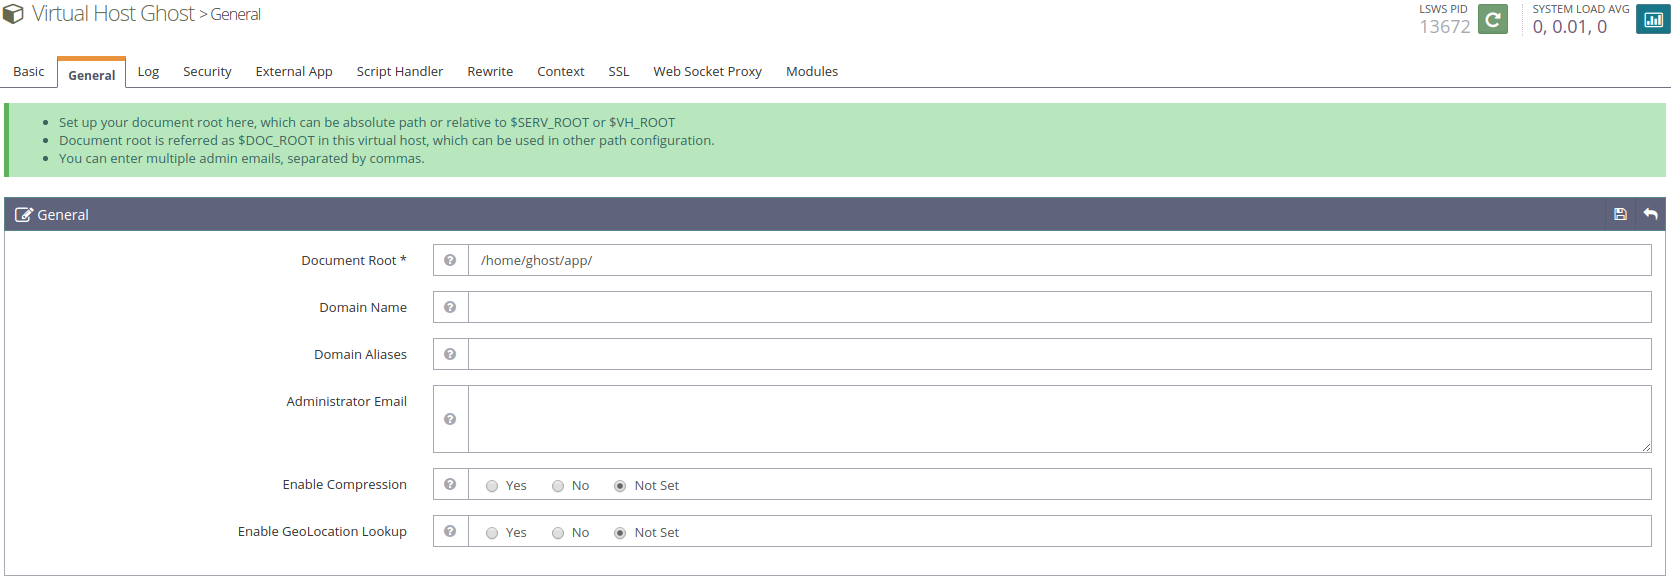
Once the Document Root setting is set, be sure to press the Save button.
Set up the App Server
Navigate to the Virtual Host and go to the Context tab. Click the Add button. On this page, you will select which type of context to create. Set Type to App Server.
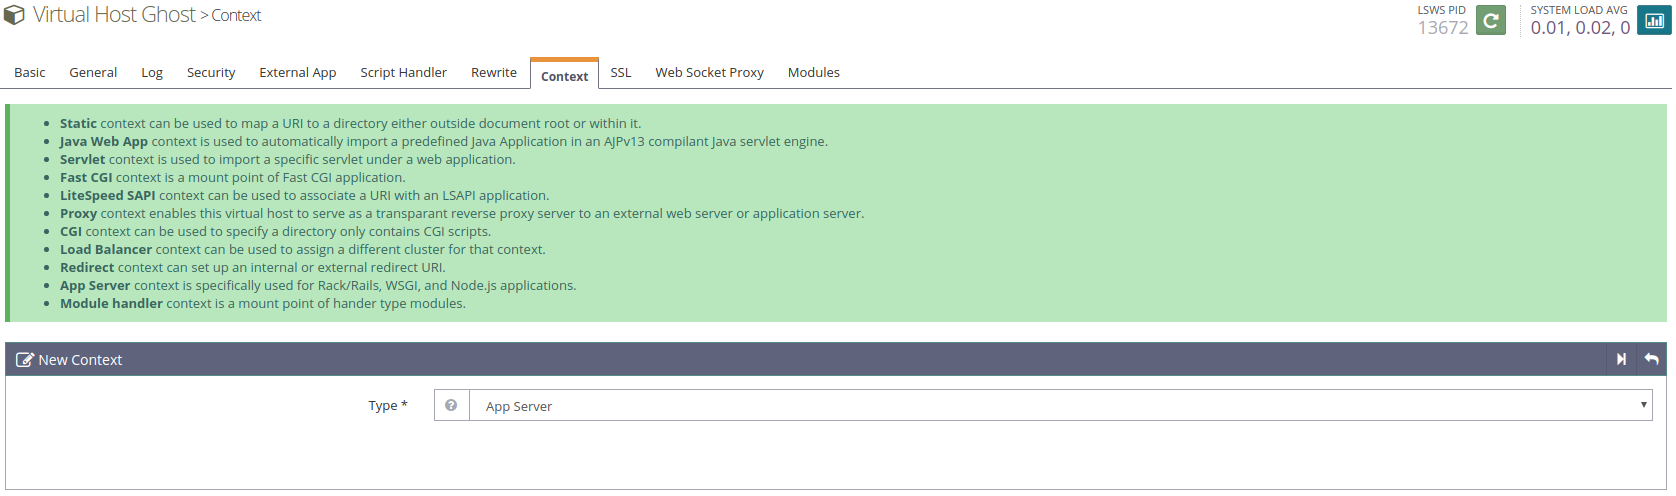
Click the Next button. Once you are on the next page, fill in the following settings:
- URI:
/ - Location:
/home/ghost/app/ - Binary Path:
/usr/bin/node - Application Type:
Node - Startup File:
current/index.js - Run-time Mode:
Production
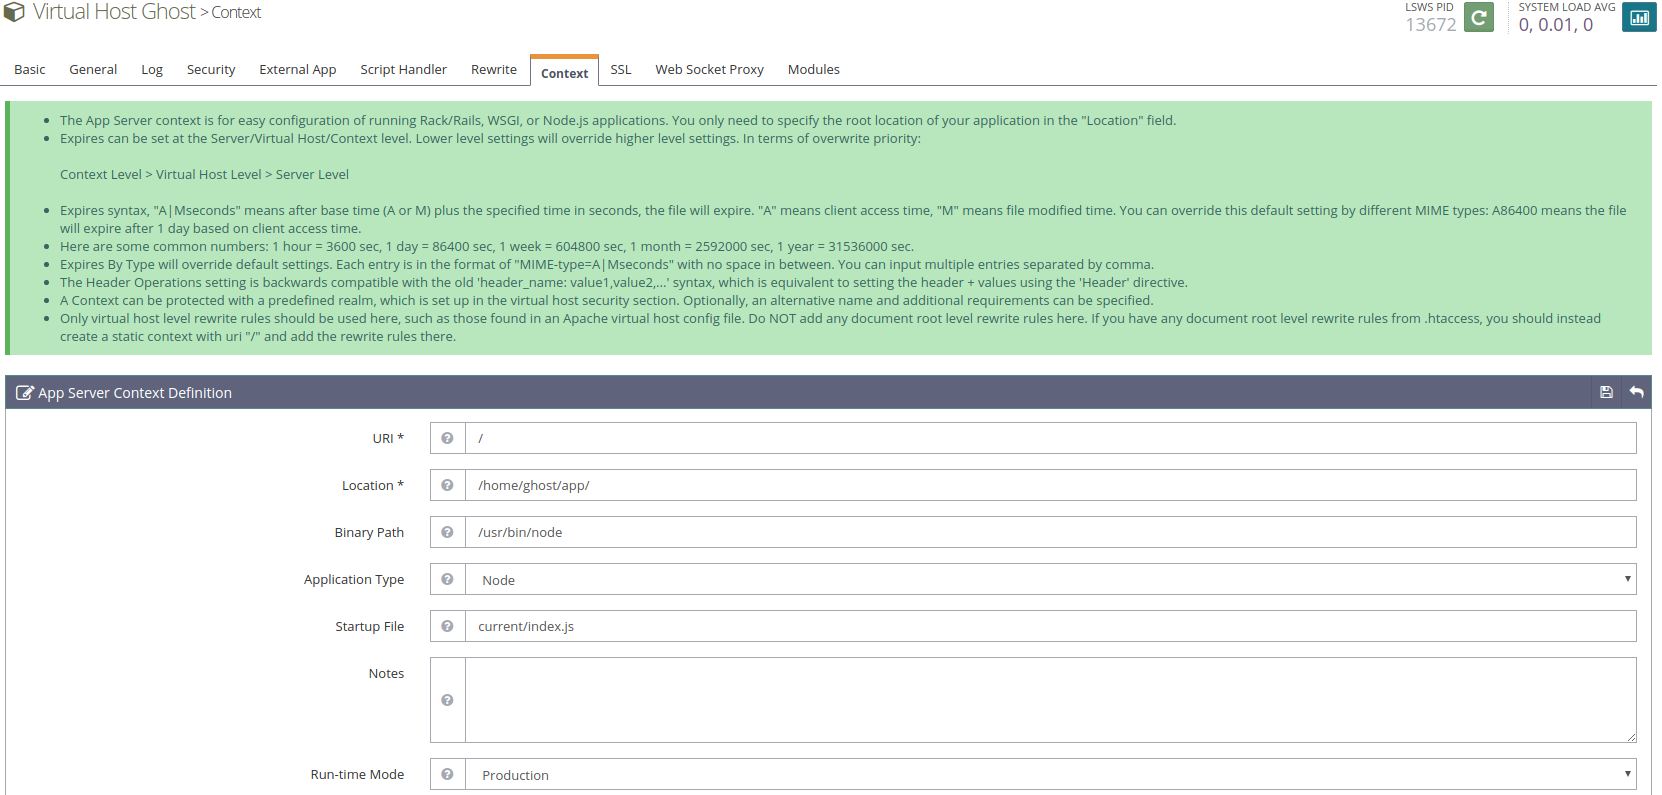
If you are using something other than the default Node.JS path, be sure to change it to the path you want to use. Also, if you are going to run this in a mode other than Production, be sure to change that as well. Once everything is set, click the Save button.
Set up the Listener
Navigate to the Listener tab and add the following Virtual Host Mappings for each listener you want Ghost to listen on:
- Virtual Host:
Ghost - Domains:
ghost-ols.local
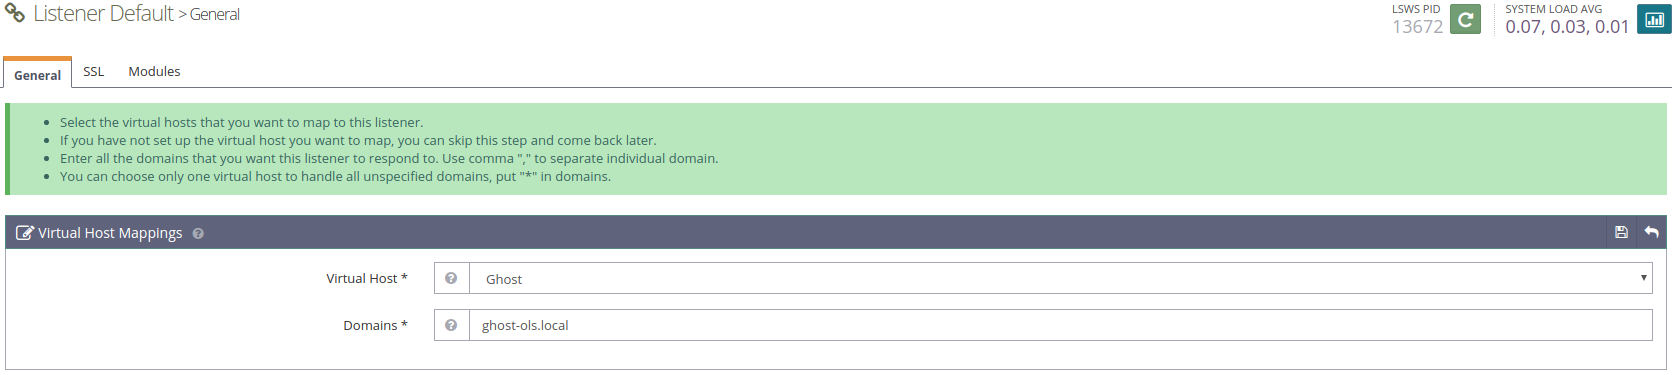
Be sure to replace ghost-ols.local with the domain you plan on using for Ghost.
Installing Ghost
This section assumes that you are in an elevated command prompt. If you are not in an elevated command prompt you may need to run sudo before the commands listed.
Install MySQL
apt-get install mysql-servermysql
# Now update your user with this command
# Replace 'password' with your password, but keep the quote marks!
ALTER USER 'root'@'localhost' IDENTIFIED WITH mysql_native_password BY 'password';
quitAdd User
Ghost CLI does not allow running as root, so we will need to create a Ghost CLI user and add it to the sudoers file. Be sure to use the same username as you set in SuExec User earlier.
adduser demouser
usermod -aG sudo demouser
Log in As User
Log in as the new Ghost user before proceeding.
su - demouserCreate Directory
Create the directory in which Ghost will be installed, and change to that directory.
mkdir -p /home/ghost/app/
cd /home/ghost/app/
Run Ghost CLI
Ghost CLI will do most of the installation for you. It will download the latest version and get it set up. Run the following to get started:
ghost install localBegin setup:
ghost setup --no-setup-nginx --no-setup-systemd --no-setup-ssl --no-startAnswer the installation questions:
? Enter your blog URL: http://example.com
? Enter your MySQL hostname: localhost
? Enter your MySQL username: root
? Enter your MySQL password: [hidden]
? Enter your Ghost database name: ghost_blog

Ghost was installed successfully! To complete setup of your publication, visit:

    http://example.com/ghost/
Be sure to use your own login information for MySQL username/password.
Restart
Now that Ghost is installed and set up, we need to restart OpenLiteSpeed so it can run the Node.JS application. This can be done by running the following command:
systemctl restart lswsFinished!
That’s it! Navigate over to your browser and visit your site. You should see the following:

To access the Ghost backend admin page, visit http://example.com/ghost.
Caching Ghost with LiteSpeed Cache
In OpenLiteSpeed WebAdmin Console, navigate to Virtual Hosts > Context > App Server context and add the following to Rewrite Rules:
CacheLookup on
RewriteCond %{REQUEST_URI} !/ghost/
RewriteRule .* - [E=cache-control:max-age=120]
And with that, you have just enabled caching on your site. All pages that are not in the /ghost/ subdirectory, will be cached publicly for two minutes. You can learn more about caching without a plugin in the LSCache Without a Plugin documentation.
Further Configuration
For further configuration, please see Ghost’s documentation.