Page Contents
Introduction
There is a way to get the benefit of LiteSpeed Cache in your current existing server stack with minimal modification.
Let’s use a simple WordPress site on Apache as an example.
Install OpenLiteSpeed
Once WP is installed and running on Apache, install OpenLiteSpeed.
Set up Reverse Proxy
Follow this guide, and set up a reverse proxy with rewrite rules.
You will need to set up both HTTP and HTTPS proxies, unless your site is all HTTPS. Then you will only need the HTTPS proxy.
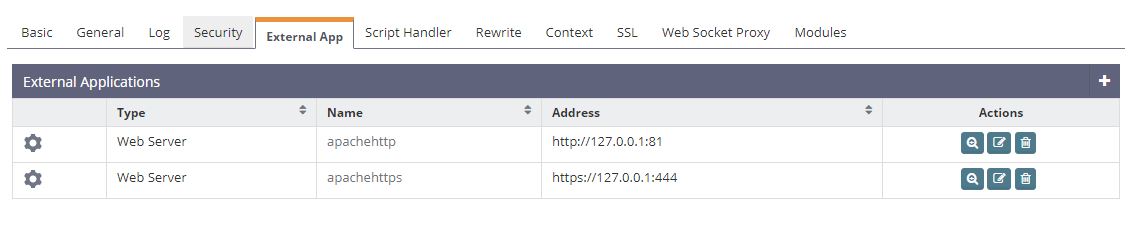
The backend IP addresses shown are http://127.0.0.1:81 and https://127.0.0.1:444. You can use any port you desire, but in this guide we will stick with 81 for the Apache HTTP port, and 444 for the Apache HTTPS port.
In some server, Apache was configured as
<VirtualHost 123.123.123.123:443>in such case, you will need to use public IP 123.123.123.123 instead of 127.0.0.1 and make sure your firewall allows connection from server IP
Use the following rules:
RewriteCond %{HTTPS} !=on
RewriteRule ^(.*)$ http://apachehttp/$1 [P,L]
RewriteRule ^(.*)$ http://apachehttps/$1 [P,L]
This way both HTTP and HTTPS can be proxied to the backend respectively, to prevent any possible mixed content issues.
Note that the name apachehttp and apachehttps are previously set when creating the external app.
Set listeners for ports 80 and 443 with domain map. Please see the Create and Assign Listeners section in this documentation for details about this procedure.
After you have completed the listener configuration, do not restart OLS yet, because ports 80 and 443 are still being used by Apache.
Change the Apache Port
Run these commands to find the relevant configuration files and change them to 81 and 444 respectively:
grep -r "80" /etc/httpd/
grep -r "443" /etc/httpd/
It is always recommended to back up the original files first in case something goes wrong and you need to revert the changes.
After you have changed the Apache configuration and restarted Apache, run this command:
netstat -lnp | grep httpdCheck the port, and you should see the following result:
[root@test ~]# netstat -lnp | grep httpd
tcp6       0      0 :::81                   :::*                    LISTEN      45947/httpd
tcp6       0      0 :::444                  :::*                    LISTEN      45947/httpd
This shows that ports 80 and 443 are free now and ready to be used by OLS. If you see 80 or 443 used by httpd, then you have some places missed in your Apache configuration file.
Restart OLS. Please note that when you change ports, you need a full stop and restart. Graceful restart won’t work:
systemctl restart lswsLet’s check the port again:
[root@test ~]# netstat -lnp | grep 'openlitespeed\|httpd'
tcp        0      0 0.0.0.0:7080            0.0.0.0:*               LISTEN      46242/openlitespeed
tcp        0      0 0.0.0.0:80              0.0.0.0:*               LISTEN      46242/openlitespeed
tcp        0      0 0.0.0.0:443             0.0.0.0:*               LISTEN      46242/openlitespeed
tcp6       0      0 :::81                   :::*                    LISTEN      45947/httpd
tcp6       0      0 :::444                  :::*                    LISTEN      45947/httpd
unix  2      [ ACC ]     STREAM     LISTENING     73044    46242/openlitespeed  /usr/local/lsws/admin/tmp/admin.sock.7177
unix  2      [ ACC ]     STREAM     LISTENING     73050    46242/openlitespeed  /usr/local/lsws/cgid/cgid.sock.177
[root@test ~]#
You should see OLS running on ports 80 and 443. Apache should be running on 81 and 444.
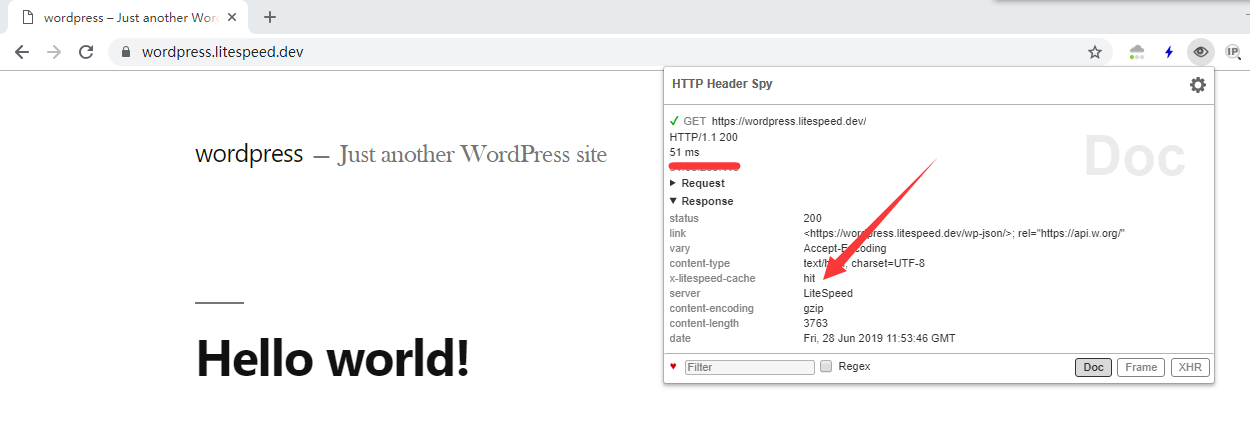
Now, access the site again and check it:
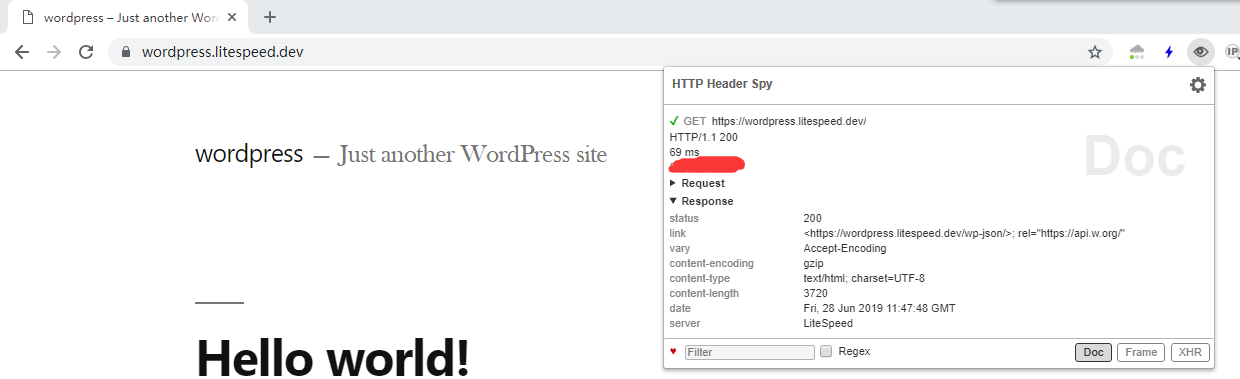
You can see the server header is now showing LiteSpeed
Install LiteSpeed Cache
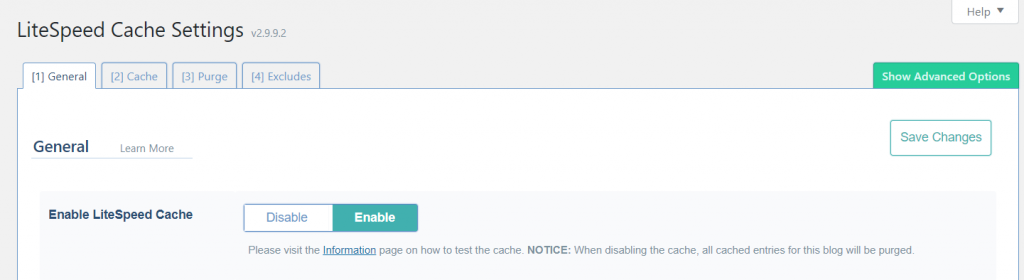
The next step is to install and set up the LiteSpeed Cache plugin for this WordPress site.
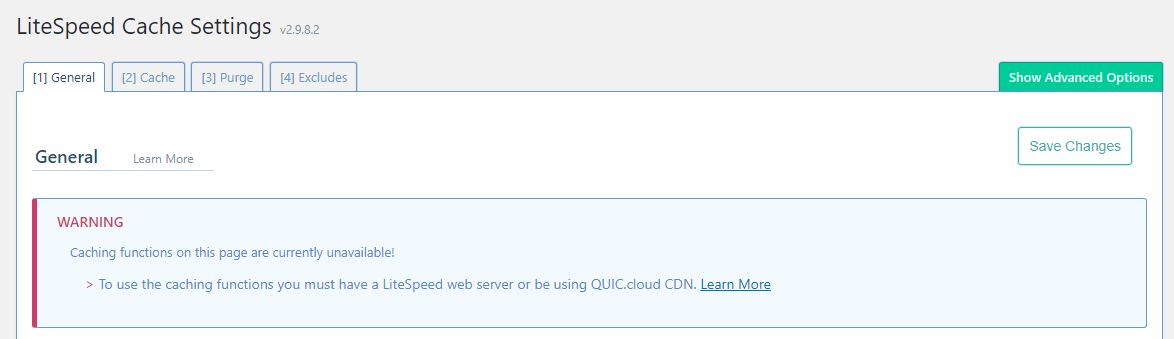
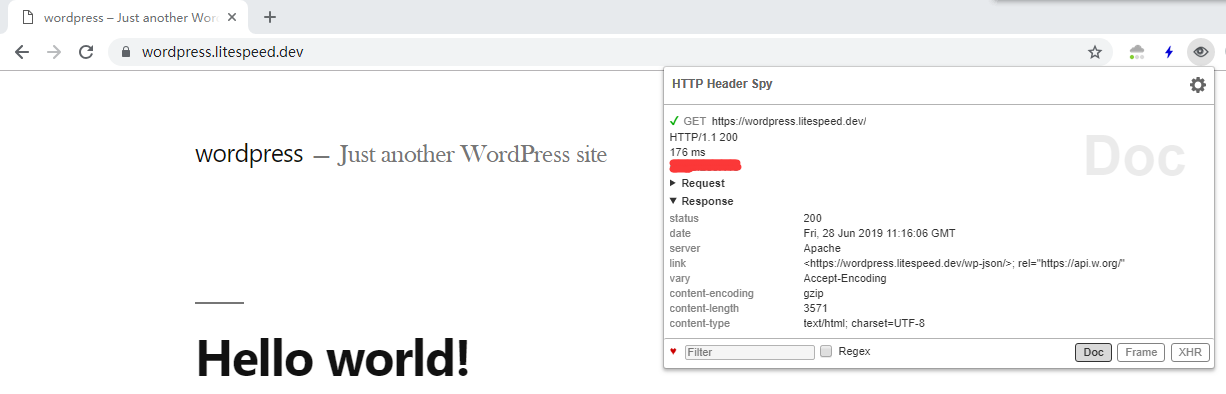
You will see this error in LSCWP, of course, because LSCWP still thinks it is running with Apache.
You need to set up the necessary rules to make LSCWP work. Add the following code to .htaccess or the Apache configuration:
SetEnv LSWS_EDITION Openlitespeed
SetEnv X-LSCACHE on
Then make sure AllowOverride is set to All like so, to allow .htaccess the ability to set the environment:
<Directory /var/www/>
        Options Indexes FollowSymLinks
        AllowOverride All
        Require all granted
</Directory>
To check if the settings work, look at the phpinfo page and look for X-LSCACHE. It should be on.

Verify Cache is Working
Method 1. See if the error message has disappeared in the LSCache plugin.
Method 2. Check the cache response header from the browser. You should see the HTTP header x-litespeed-cache: hit. This indicates that LiteSpeed Cache is now working.
 .
.
Conclusion
So now we have managed to set up OpenLiteSpeed with LiteSpeed Cache over an existing Apache website with very minimal modification.
Enjoy your accelerated Internet with LiteSpeed technology!
Note: As long as you are running OpenLiteSpeed version v1.6+, your sites can also benefit from HTTP/3 & QUIC support!